Recommendations, Travel, Trip Preparation
WHAT WOULD WE HAVE DONE DIFFERENTLY ON OUR RIG + SET-UP?
HELLO + WELCOME to a long-awaited post on our rig. We have been receiving a LOT of questions about our set-up. Last week we posted about the gear we love and today we post about what we could have done differently.
Take it away Gareth…
![]()
First things first, we love our rig and set-up. Overall we think we have done most things really well and used the right suppliers for all of our gear. We put a lot of thought and work into it and lucky for us it’s paid off. Kirst and I have just gone over the 100 days in Africa mark and before that we started this expedition on 22nd of March 2013 in Sydney. What I’m trying to say is our set-up has been well and truly put to the test.
As the song goes: If I had my time again. I would do it all the say-ay-ay-ayymm!
NO I would do a few things differently which is probably to be expected. These are all minor things and do not affect any of our comforts or day to day living in the car.
![]()
STEEL MESH ON REAR WINDOWS
I would not have used steel mesh on the rear windows. It is heavier than aluminium and I have not left any space to get my hand in behind it, so we find it hard to clean the inside of the windows. It does its job (good for hanging things off – looks secure and deters robbers) but was just a little overboard I think. What I would do now is just screw or pop-rivet aluminium bars across the width of the windows.
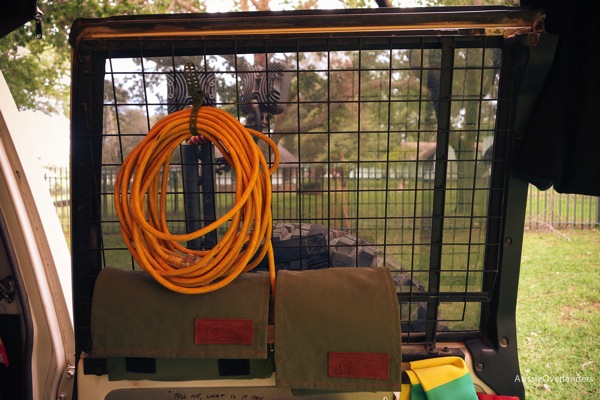
> Our steel mesh on the rear door makes it hard to clean but look how well it holds our True Blue Outdoors canvas bags
![]()
OUR HEAT EXCHANGER / SHOWER IN THE ENGINE BAY
I was a bit hesitant buying this but my brother had one. So I HAD to have one :-).
It was a waste of money in my mind. We have only used it a few times. It works really well but we have just not been able to justify the expense to ourselves. At $495 we could have directed that cost elsewhere and would not have missed it at all. Oh well. My advice to anyone thinking about buying one is this: Use a bucket of water with a face cloth. If you need it to be warm, boil some water. So much cheaper and easier. And when it comes down to it, you will just want to jump into bed under your doona.
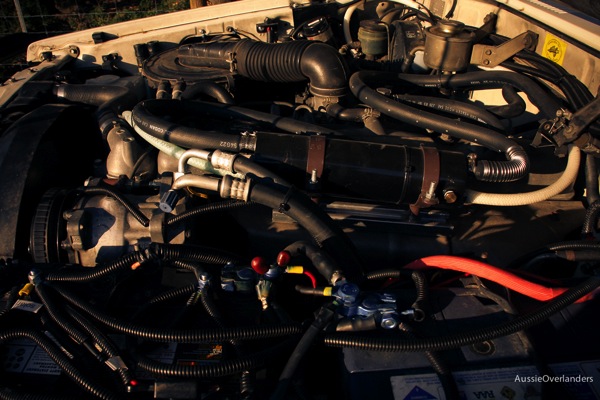
> The heat exchanger mounted in the engine bay
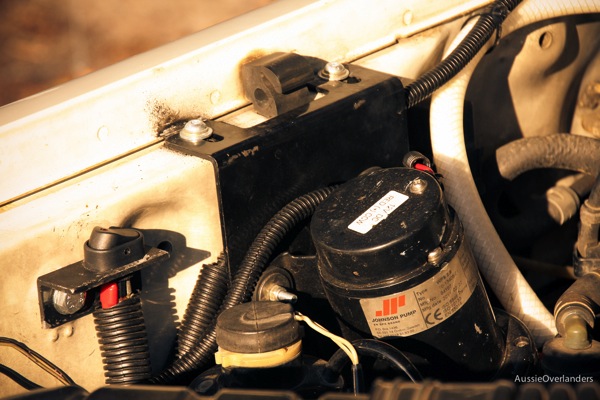
> The ‘shower’ comes with a little 12V pump
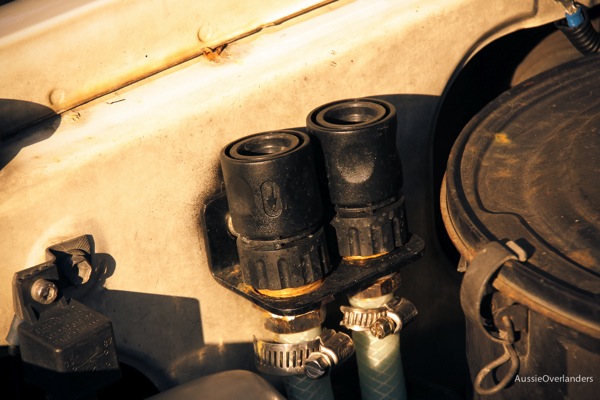
> Water inlet and outlet
![]()
OUR ACCESSORY WIRING ON THE BATTERY
A very wise man and previous multi-continent overlander said to me when I started kitting out the car “Do the wiring yourself so if you have a problem, you will know how to fix it”. I am so glad I took his advice because I did not know a thing about car wiring beforehand. He taught me a lot. Now I know a little more than before… let’s just say my wiring ‘works’ but I could have done it smarter and neater and I know that now. Oh well, next time.
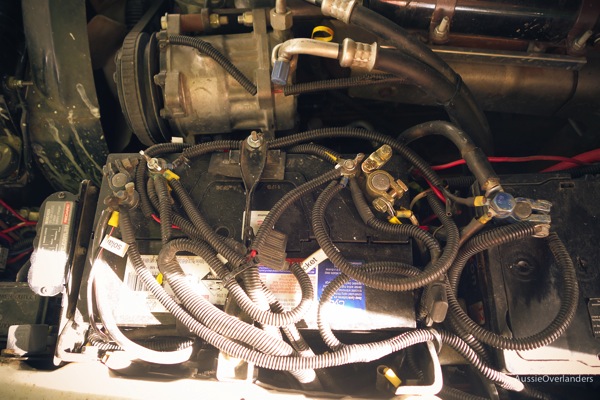
> A little messy but it all works
![]()
OUR REAR AWNING
Our rear awning is great. Easy to set up and to put away.
It does the job but when it rains it leaks and drips down the buckles and through the mounting bracket. I have since covered it with silicone where it is attached to the car but obviously not enough. Having a pop-top we did not have the option to mount it onto a roof rack.
I used some aluminium ‘uni-strut’ which is pop riveted to the frame of the car. I then used three spring washers to mount the awning onto the uni-strut. This has worked perfectly well and is solid. BUT when the back doors are open the bag of the awning hangs below the door so it makes it hard to close the rear doors with-out catching the bag and its buckles. Next time I would use the same mounting brackets but I would also position it high enough so that the doors could be closed with out interfering with the awning bag or buckles.
When you are learning on-the-go and getting things done fast, things like this happen!
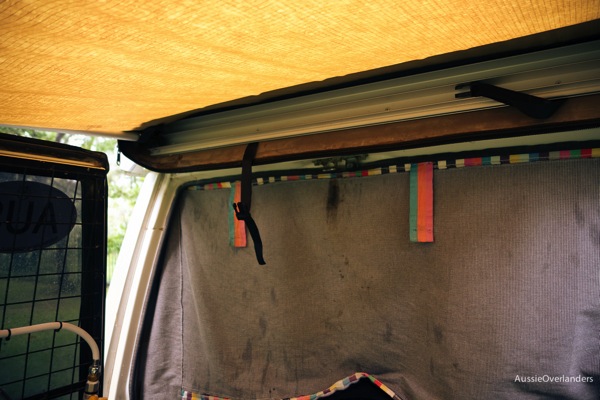
> When the awning is open the buckles and bag hang too low
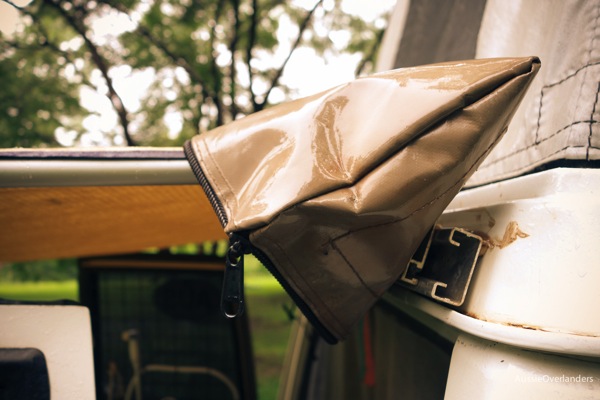
> Aluminium uni-strut pop riveted to the outside of the car and then the awning was bolted to that using 3 x spring nuts
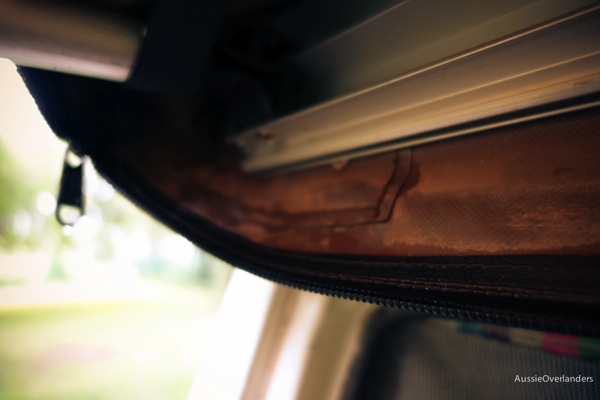
> Water dripping down the back of the awning even after half a tube of silicone
![]()
Well that’s about it for now. Kirst is stoked with our set-up, and so am I, that’s the main thing. I have a few other little niggling things that I can share in another post. As usual thanks for being here and if there is anything you would like to know, feel free to leave a note in the comments below. We’ll get an answer to you.
If you are interested in our FREE upcoming EBook of our Top 10 photos from the road double tap here for Mac users and for all others click here. It’s the same link… I’m being cheeky 🙂
Cheers,
![]()


Hi Guys,
Loving reading about your travels and being inspired by the beautiful photos you put up.
We’re currently in the process of doing up a troopy ourselves with the plan to head around Australia, and maybe a bit further … 🙂
I noticed that between your Aussie trip and Africa you repainted the bonnet a dark grey. I was wondering what the reason was for this change, where you finding the white was giving you too much glare when you were on the road? We’re just looking at paint colours at the moment, so your insight would be really helpful.
Thanks,
Estelle
Wow, I am absolutely impressed by your journey and your vehicle. Thank you for this blog post and it’s great to see that you’re 99% happy with your LC and its mods!